How to Install the Soffit Vent by Moisture Flow®
How to Install a Soffit Vent by Moisture Flow® To install the vent is fast and easy. It is designed to fit an eight-inch soffit to a 48-inch soffit. The Soffit Vent is designed to be used as a retrofit for existing homes or for new construction. Installation of the Soffit Vent only requires small hand tools.
Necessary tools: a ladder, tape measure, pencil, screwdriver, 4 1/2 inch hole saw with a drill bit, your choice of attachments using a nylon tie an exterior waterproofing duct tape, or a jubilee clip.
STEP 1
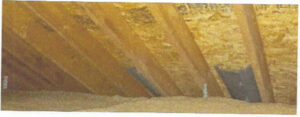
Locate the rafters inside the soffit. This can be done by standing in the attic and locating them in the soffit. From the exterior of the home, this gives you an idea of where they are located in the soffit area. The rafters are 16 inches on center.

STEP 2
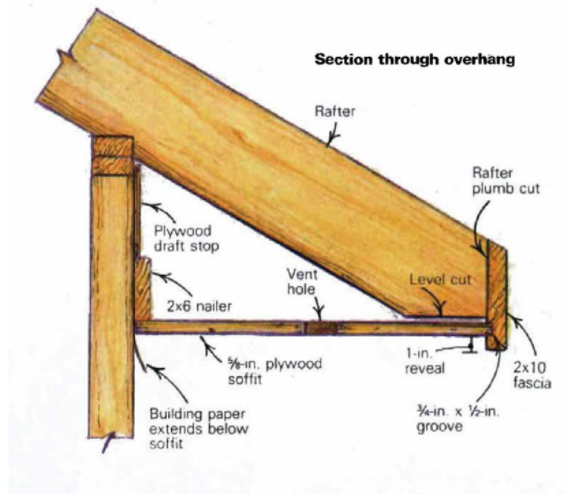
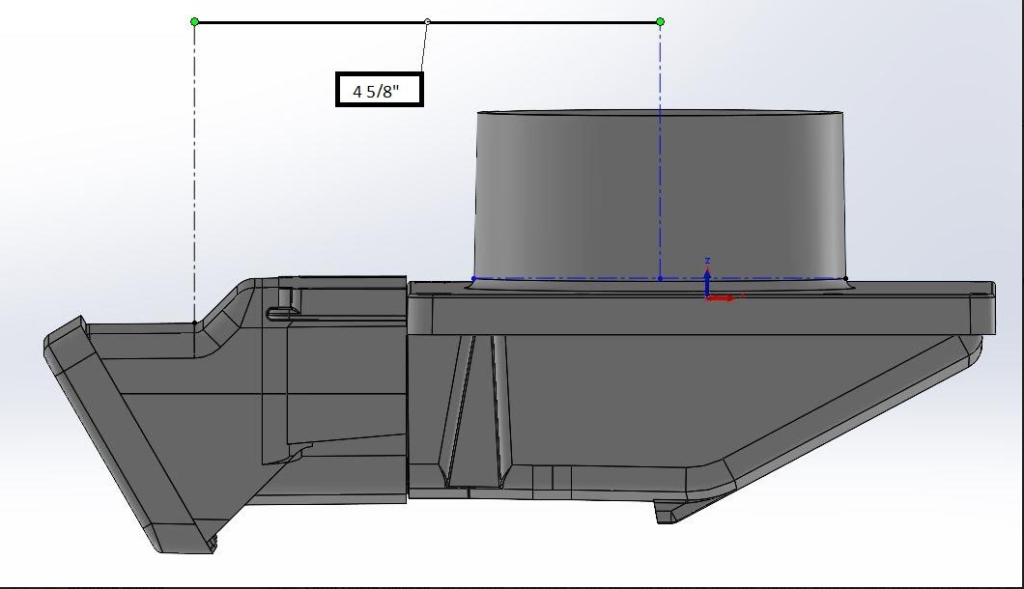
Using a tape measure from the interior side of the fascia backward to the soffit 4 3/4 inches. It is important that the level of the nose is flush with the bottom edge of the fascia and the interior edge sits at the angle of the bevel. Using a pencil measuring 4 3/4 inches back from the interior side of the fascia on the soffit. Make sure that there is a clearance of 2 1/4 inch away from the rafter.
STEP 3
Using a hand drill place a 4 1/2 inch hole saw with a pilot drill bit place it on the pencil mark.
If replacing an obsolete vent that is already in place see if the existing hole meets the specified measurements of the new soffit vent. If not, remove the old vent, close up the hole and make a new hole.
If the existing ductwork is old or faded it is suggested that you buy a new one. If replacing the extension tube start by inserting it into the hold of the neck of the vent pushing it into the attic. This will give better access to reaching it. When pulling it into the attic does not damage the exterior covering when pulling it through the hole in the soffit. Two people might be necessary, one pushing from the exterior and the other pulling tt within the attic.
Pull the extension tube until it reaches the exhaust fan. Take the end of the ductwork and place it on the neck of the exhaust fan. Attach it securely with a jubilee clip and tighten the screw to hold it in place.
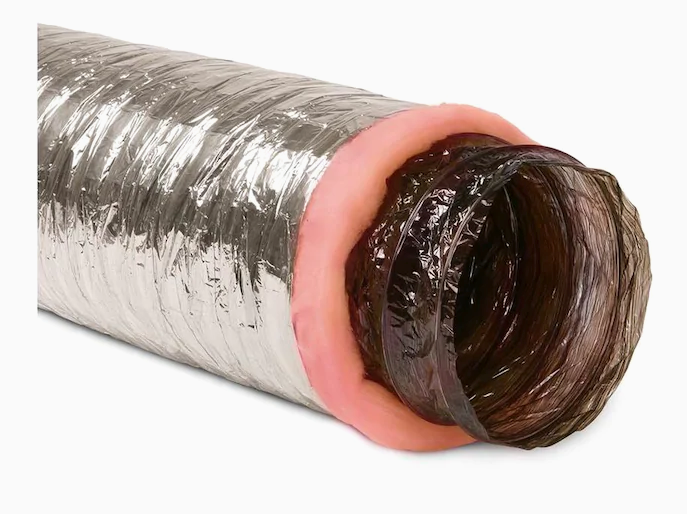
Brands of ductwork vary depending on the ductwork that is in place, Normally the ductwork for a bathroom exhaust fan has a thin membrane shelves in the interior of a plastic tube. Others have a plastic tube wrapped in insulation and an aluminum covering.
STEP 4
After the extension tube is attached to the exhaust fan, if the ductwork needs to be replaced, place the end from the soffit and slide it onto the neck of the housing. The neck of the housing is the part that will be inserted into the soffit with the attached extension tube. If the extension tube has an interior lining, place it on the neck and slide it down to the base of the housing. It is suggested to wrap the lining and the neck of the housing preventing it from pulling away from the neck of the vent.
Slide the ·exterior covering down over the interior lining and using either duct tape, nylon tie, or a jubilee clip secure it to the soffit vent.
STEP 5
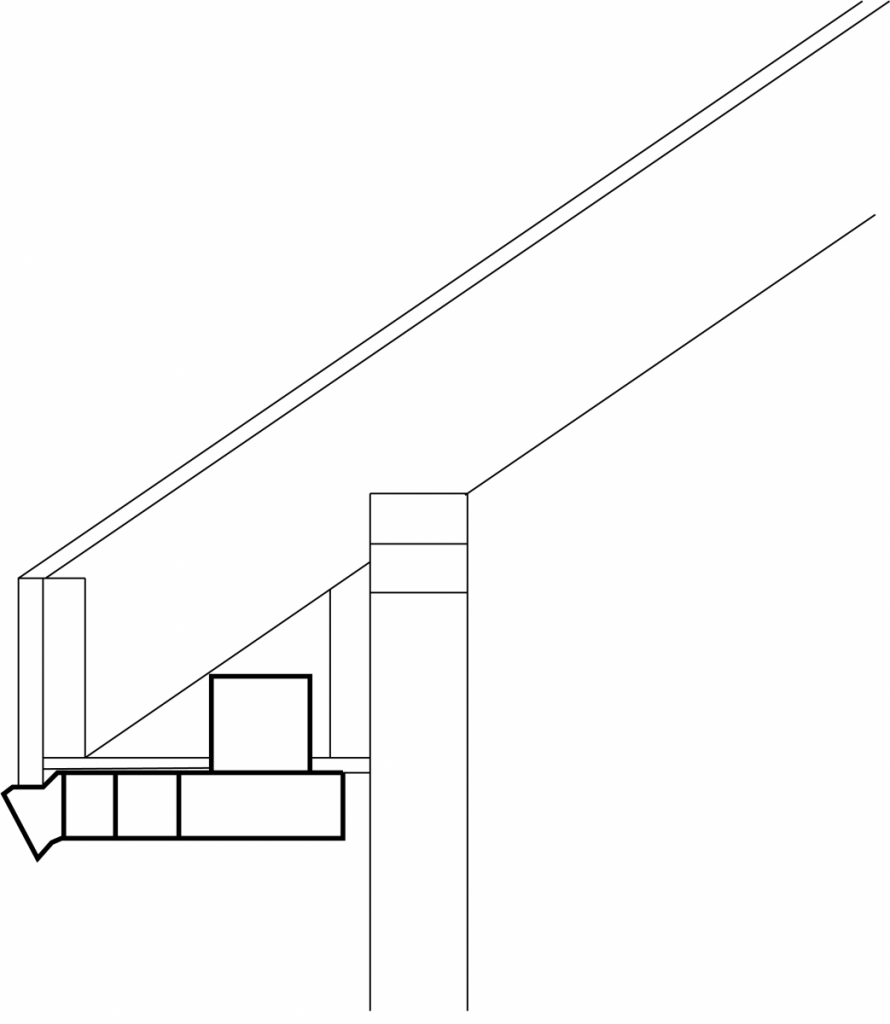
Present the soffit vent in place with the bevel on the nose pushing it up against the interior of the fascia The grille of the Soffit Vent should extend the exterior side of the fascia. The grille will extend past the fascia so that it can be removed should it ever need to be cleaned from debris that may collect on it. The Toe grill is held in place by three clips at the bottom of the grille.
Insert the neck to vent into the soffit and where the noise of the vent meets the fascia the bottom edge of the fascia should sit on the base of the nose. If the bottom of the fascia extends more than 1/2 inch below the soffit, notch out the difference so that the vent is flush up against the soffit. The vent should be level with the soffit.
STEP 6
Once the vent is correctly installed pull the neck of the housing out and using an exterior silicone caulk put a bead around the diameter on the base of the housing to seal the space of the opening in the soffit around the neck of the vent.
Push the extension tube into the soffit making sure not to bend the material. Press the neck of the Soffit Vent firmly against the soffit so the bead of Silicone completely seals the excess opening around the neck of the vent bonds to the vent and the soffit.
On both sides of the nose of the vent are two holes to screw the vent into the 2 X 4 frame of the soffit. If the bottom of the fascia is butted up against the bevel of the nose the screws will line up with the 1 1/2 inch 2 x 4 of the exterior framework of the fascia
STEP 7
Using a # 8 screw, 1 1/2 inch long Stainless steel, screw the Soffit Vent to the soffit. There are two holes on the housing that can also be used if needed. However, the silicon and the two screws in place will hold the vent in place. The additional screws can be used if needed. Once the vent is in place caulk any openings around the vent sealing all open spaces to prevent insects from entering into the soffit.
STEP 8
The Soffit Vent is now in place and operational.
